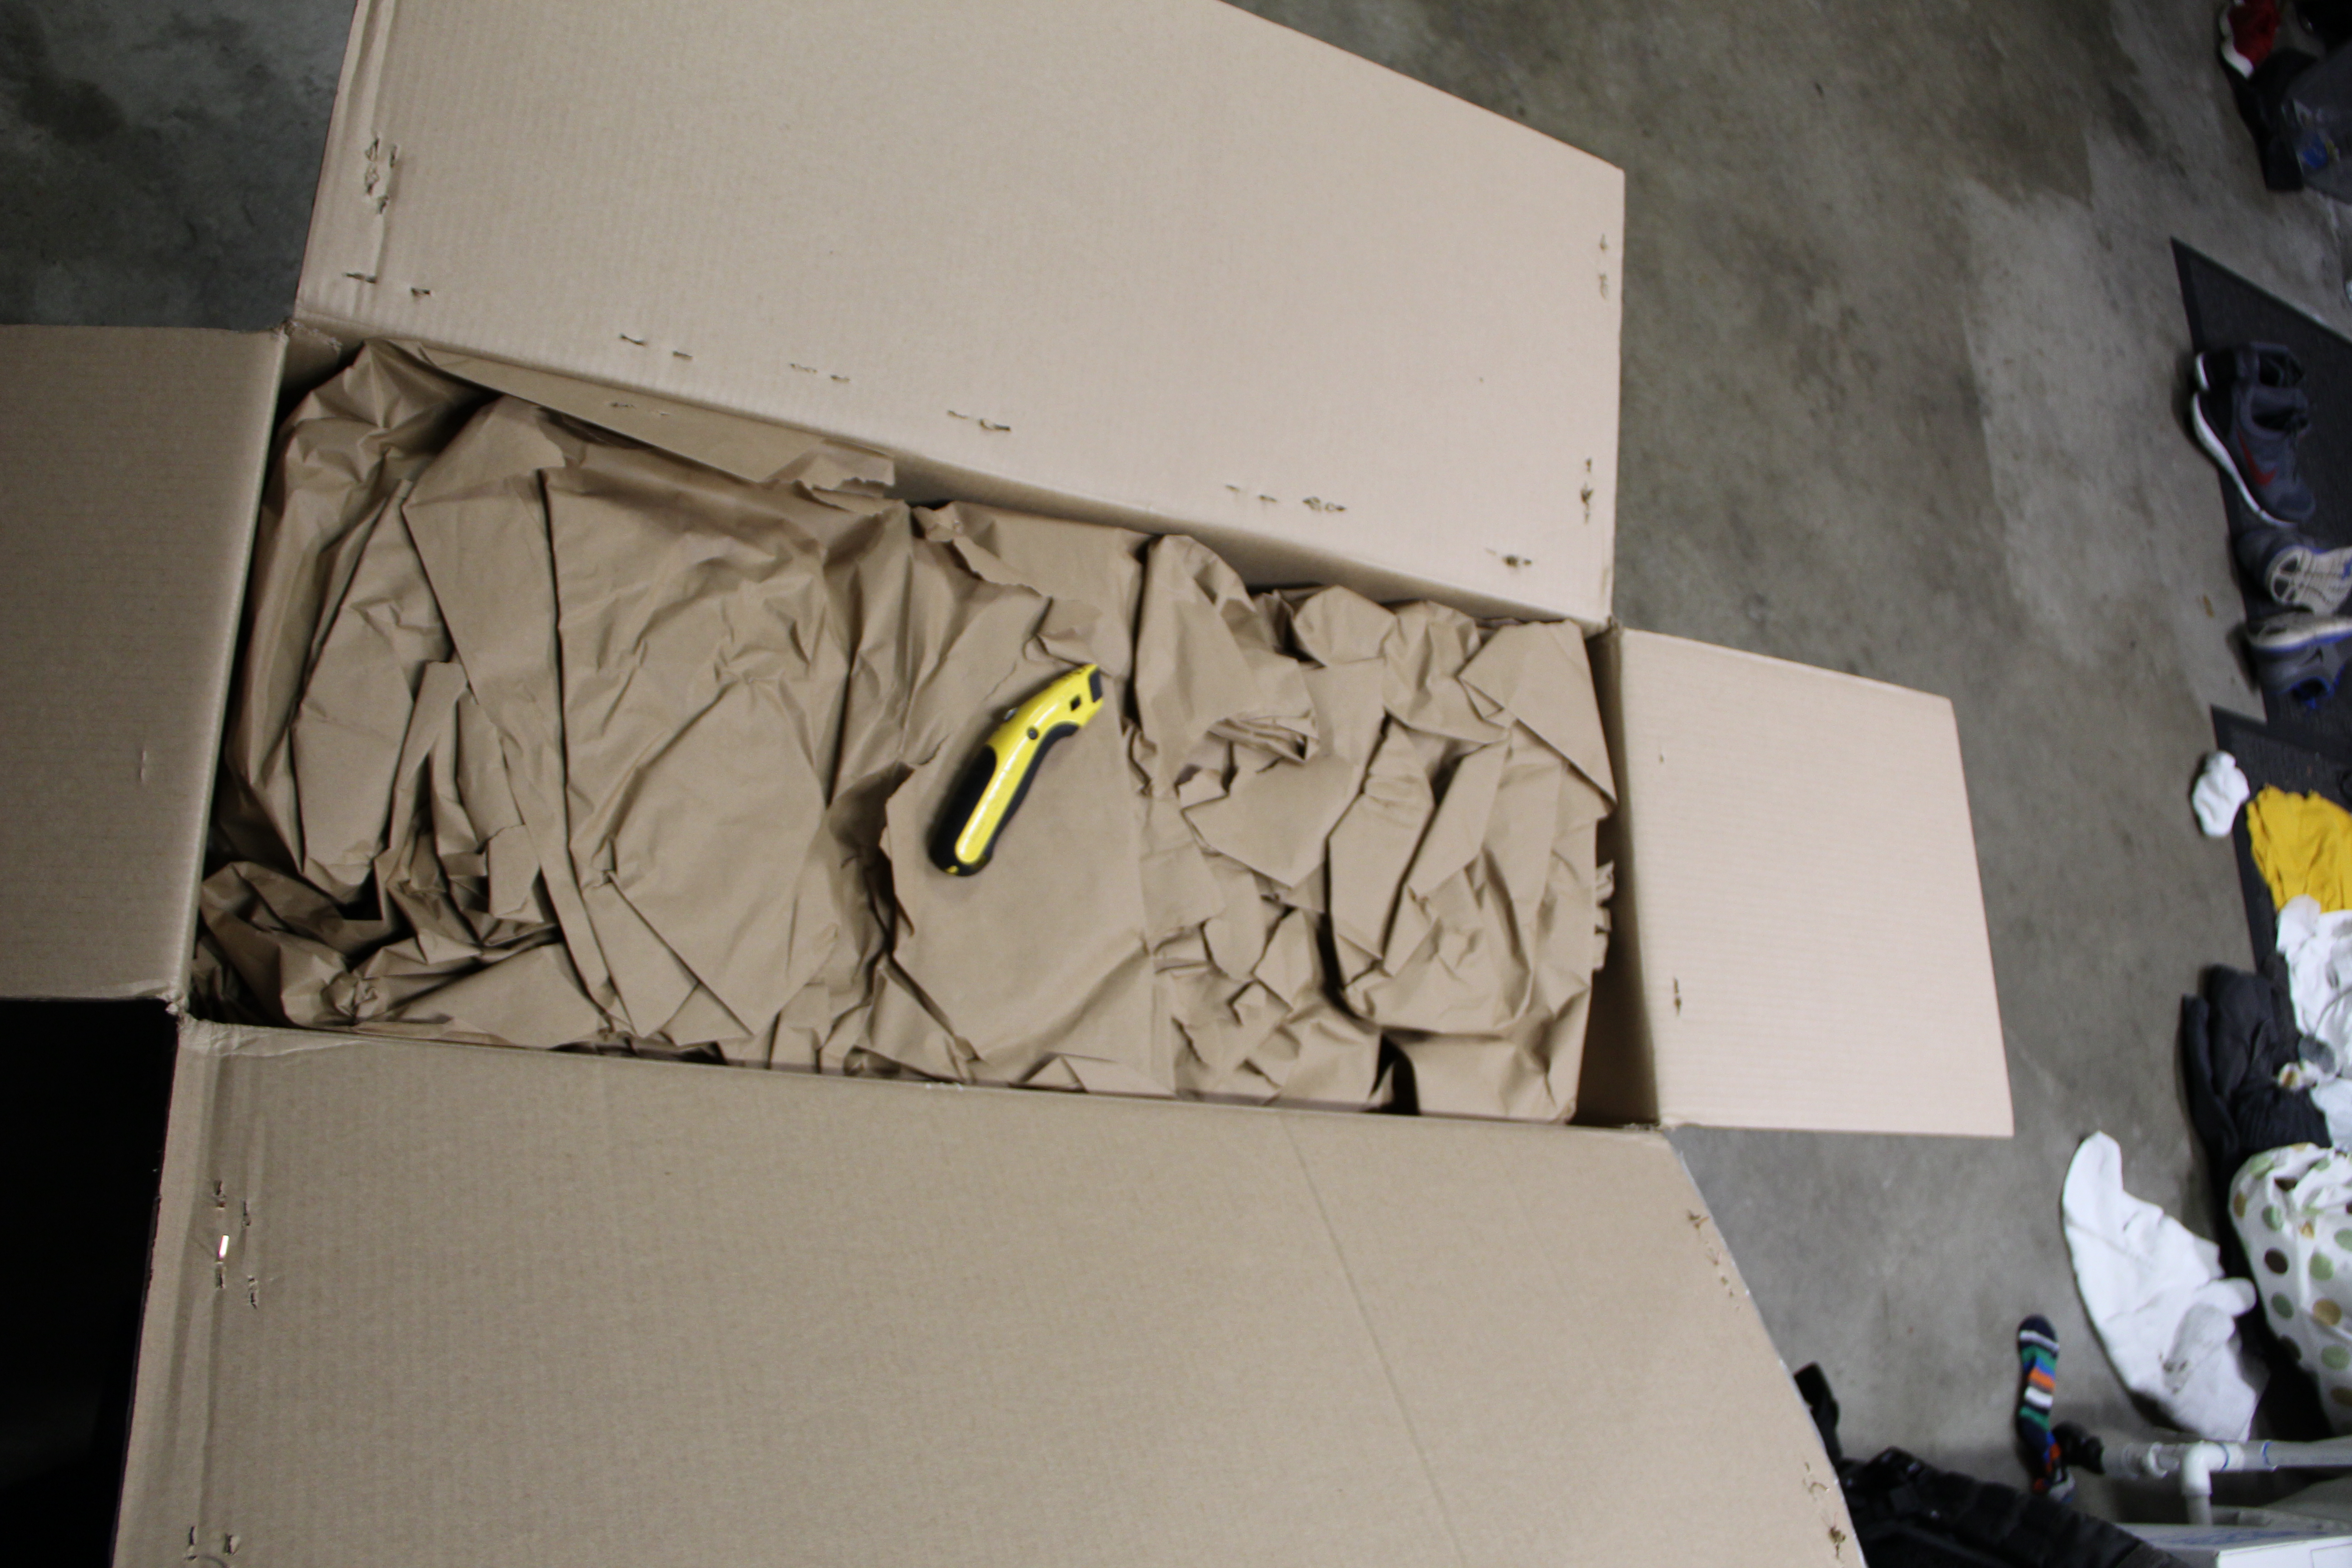
CTS saw my previous blog post and decided to offer me an intercooler at a deep discount, I decided to take them up on the offer.
My thoughts on the install
Now most of the research I’ve done has made this install sound like it’s a walk in the park. For me, it wasn’t. The clips holding the charge air ducts took me over an hour to figure out, crawling under the car, trying, looking up the forums and official install docs, going back under, it was not fun. Once I did figure it out, it’s actually super easy but until then, good luck.
Hopefully the below DIY will help others, I tried to fill in all the blanks I came across on all the research I did beforehand.
Also, fitting the much larger intercooler was another area that was not as easy as others made it seem. The new intercooler is WAY bigger than the stock and there are all sorts of things in the way that require a lot of manipulation and in the end just brute force.
I’m no mechanic, I’m decently skilled with DIY type things and there were quite a few extremely frustrating, swear out loud at the project moments.
Technical Skill
Cost
Time Commitment
PITA factor
Butt Dyno affect
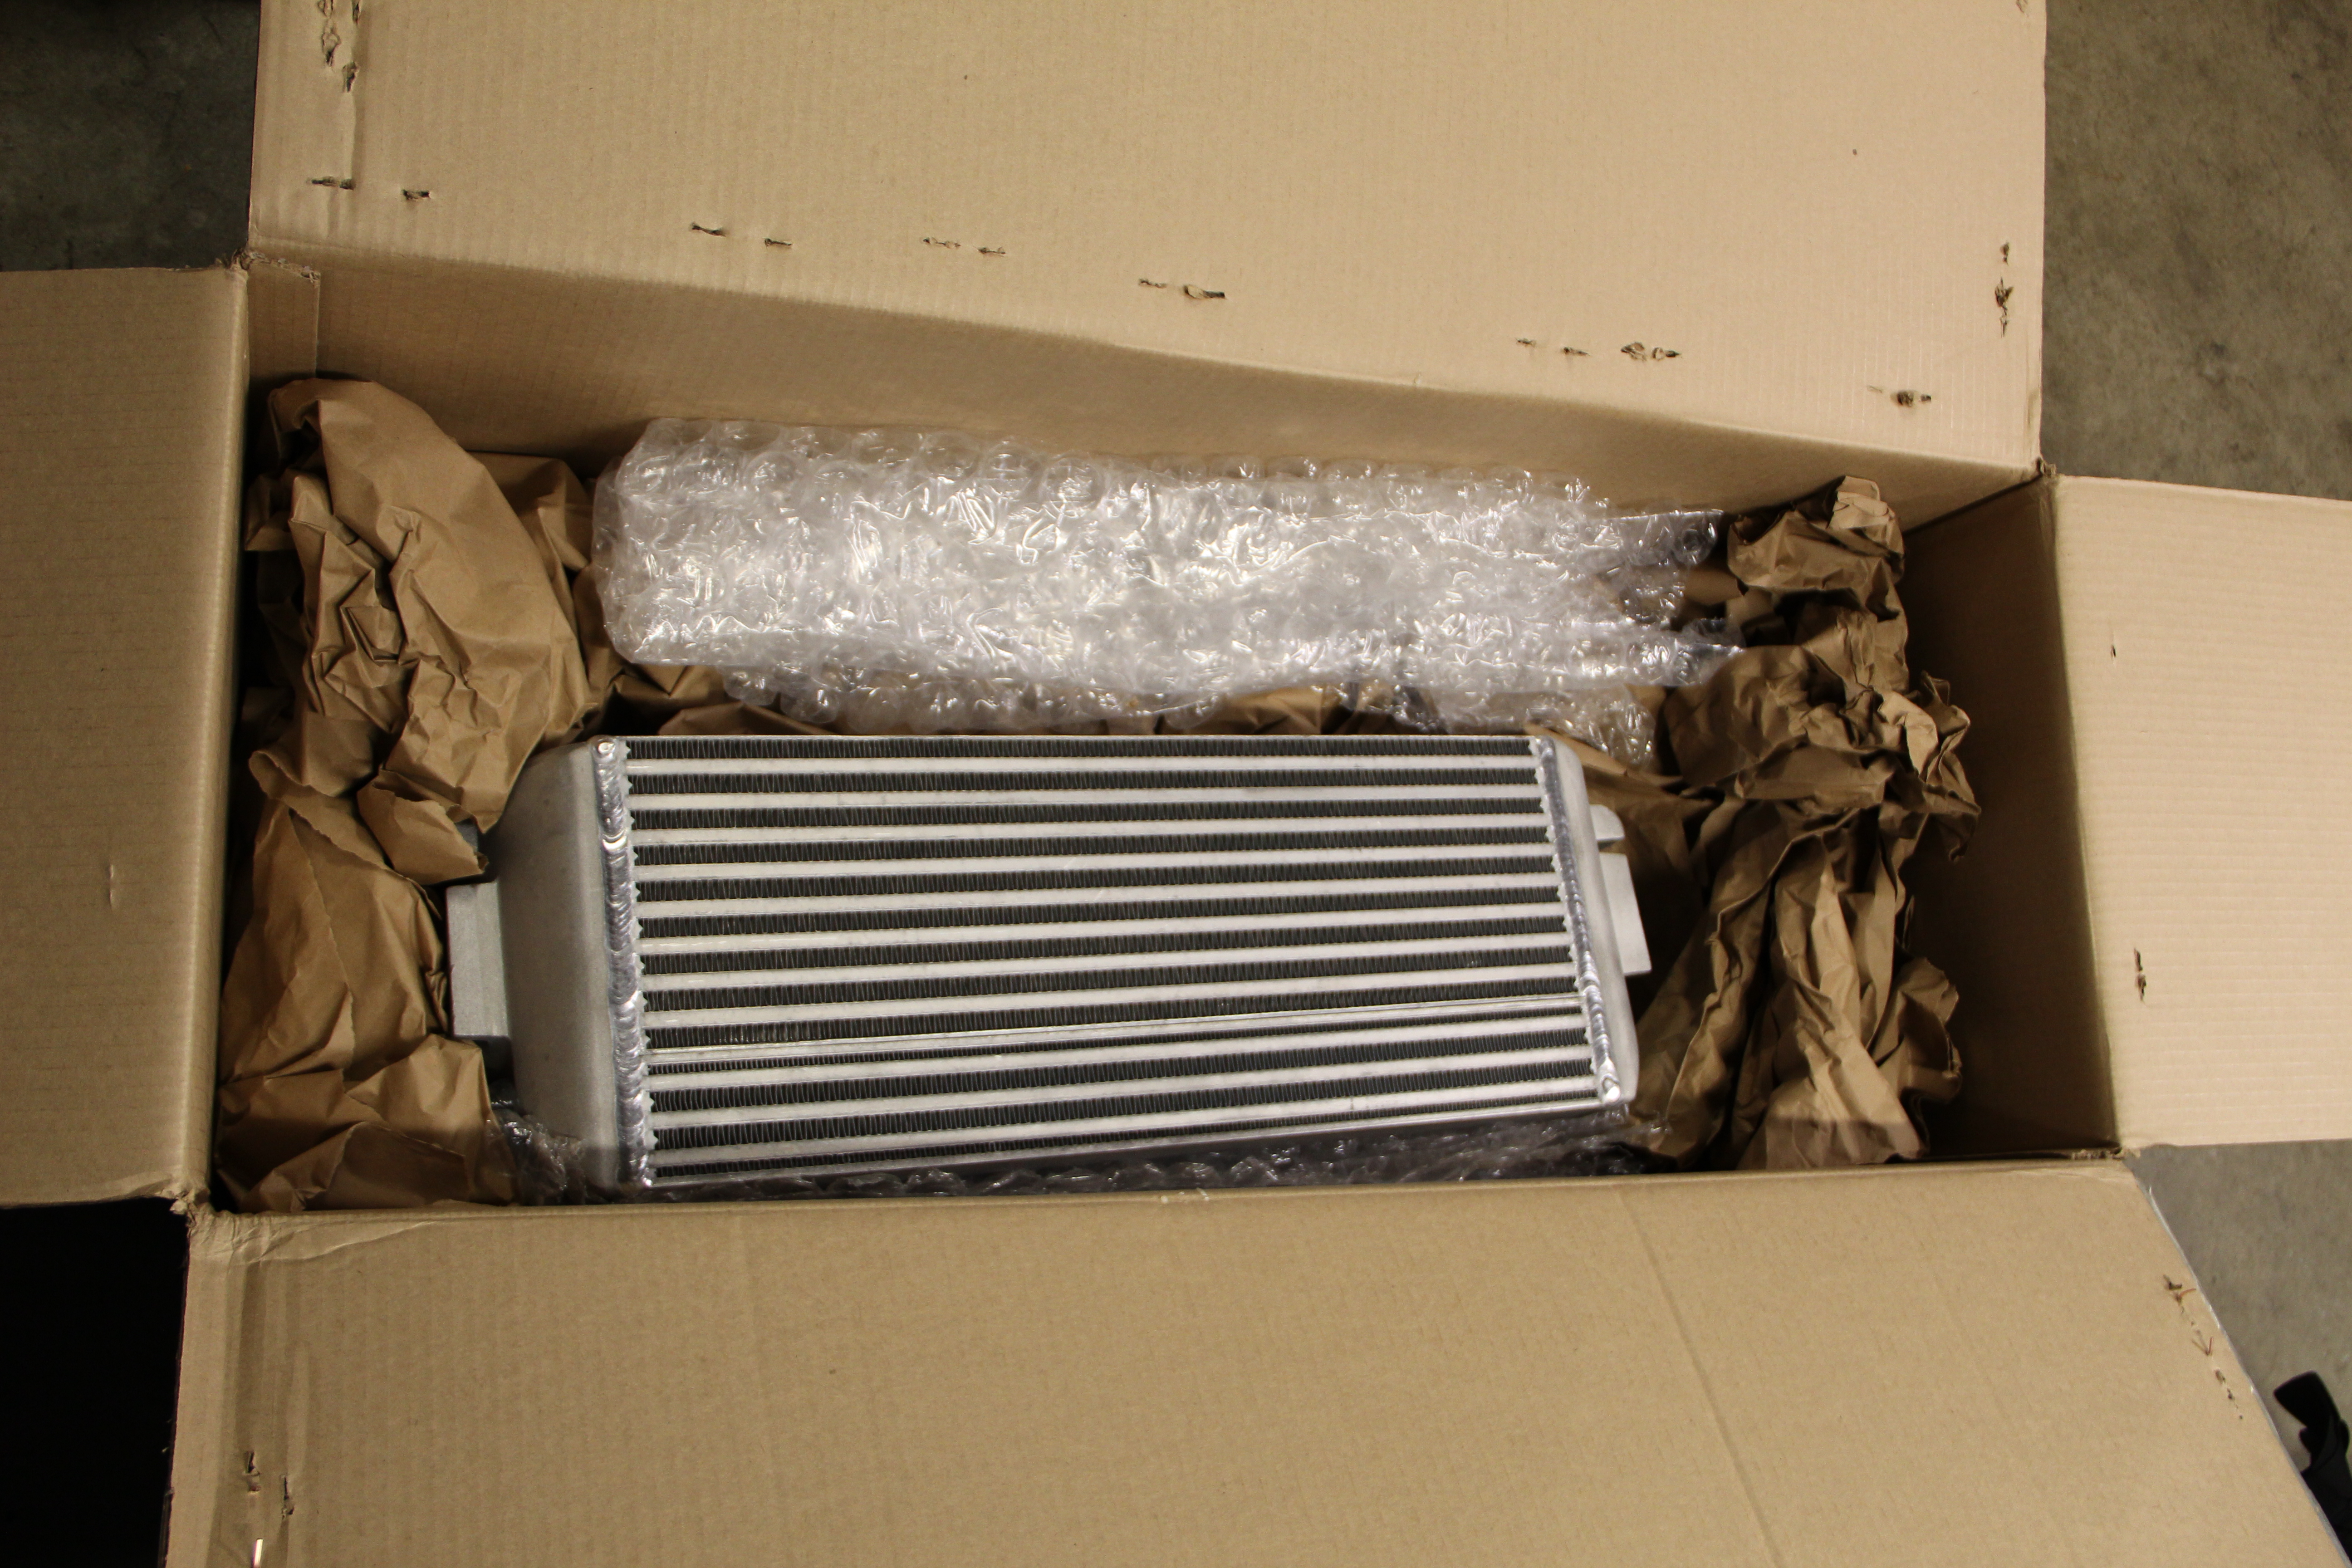
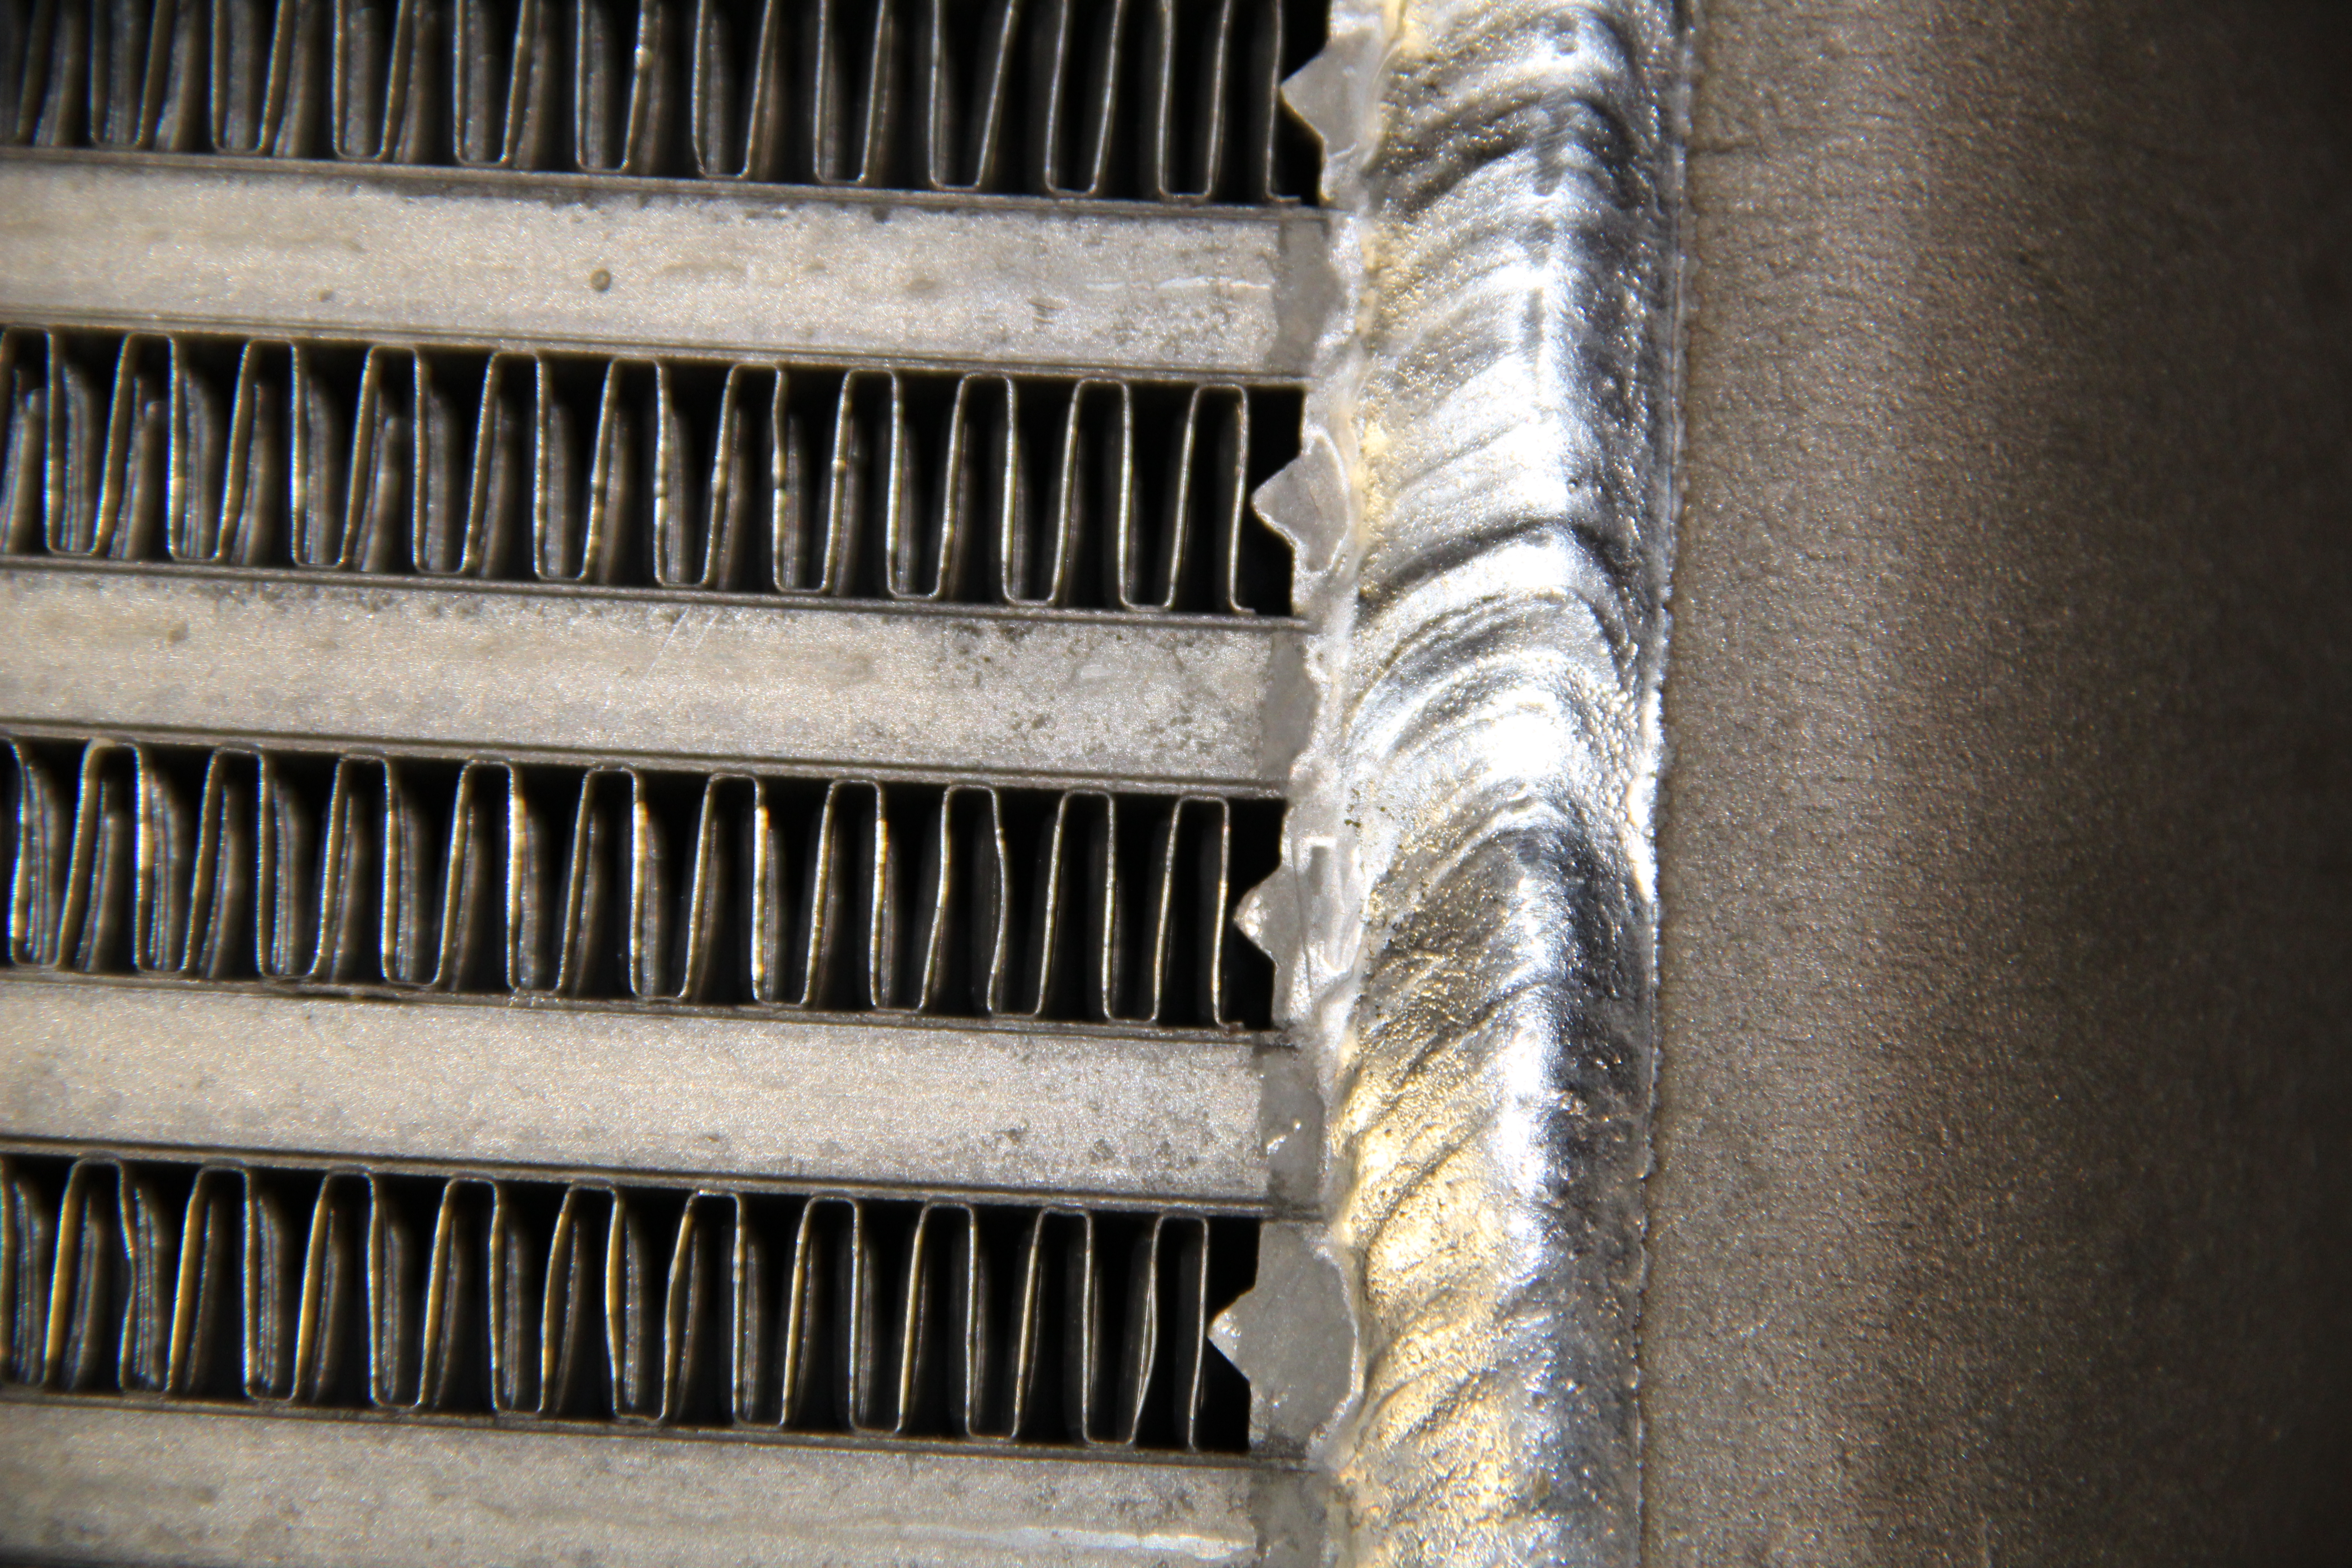
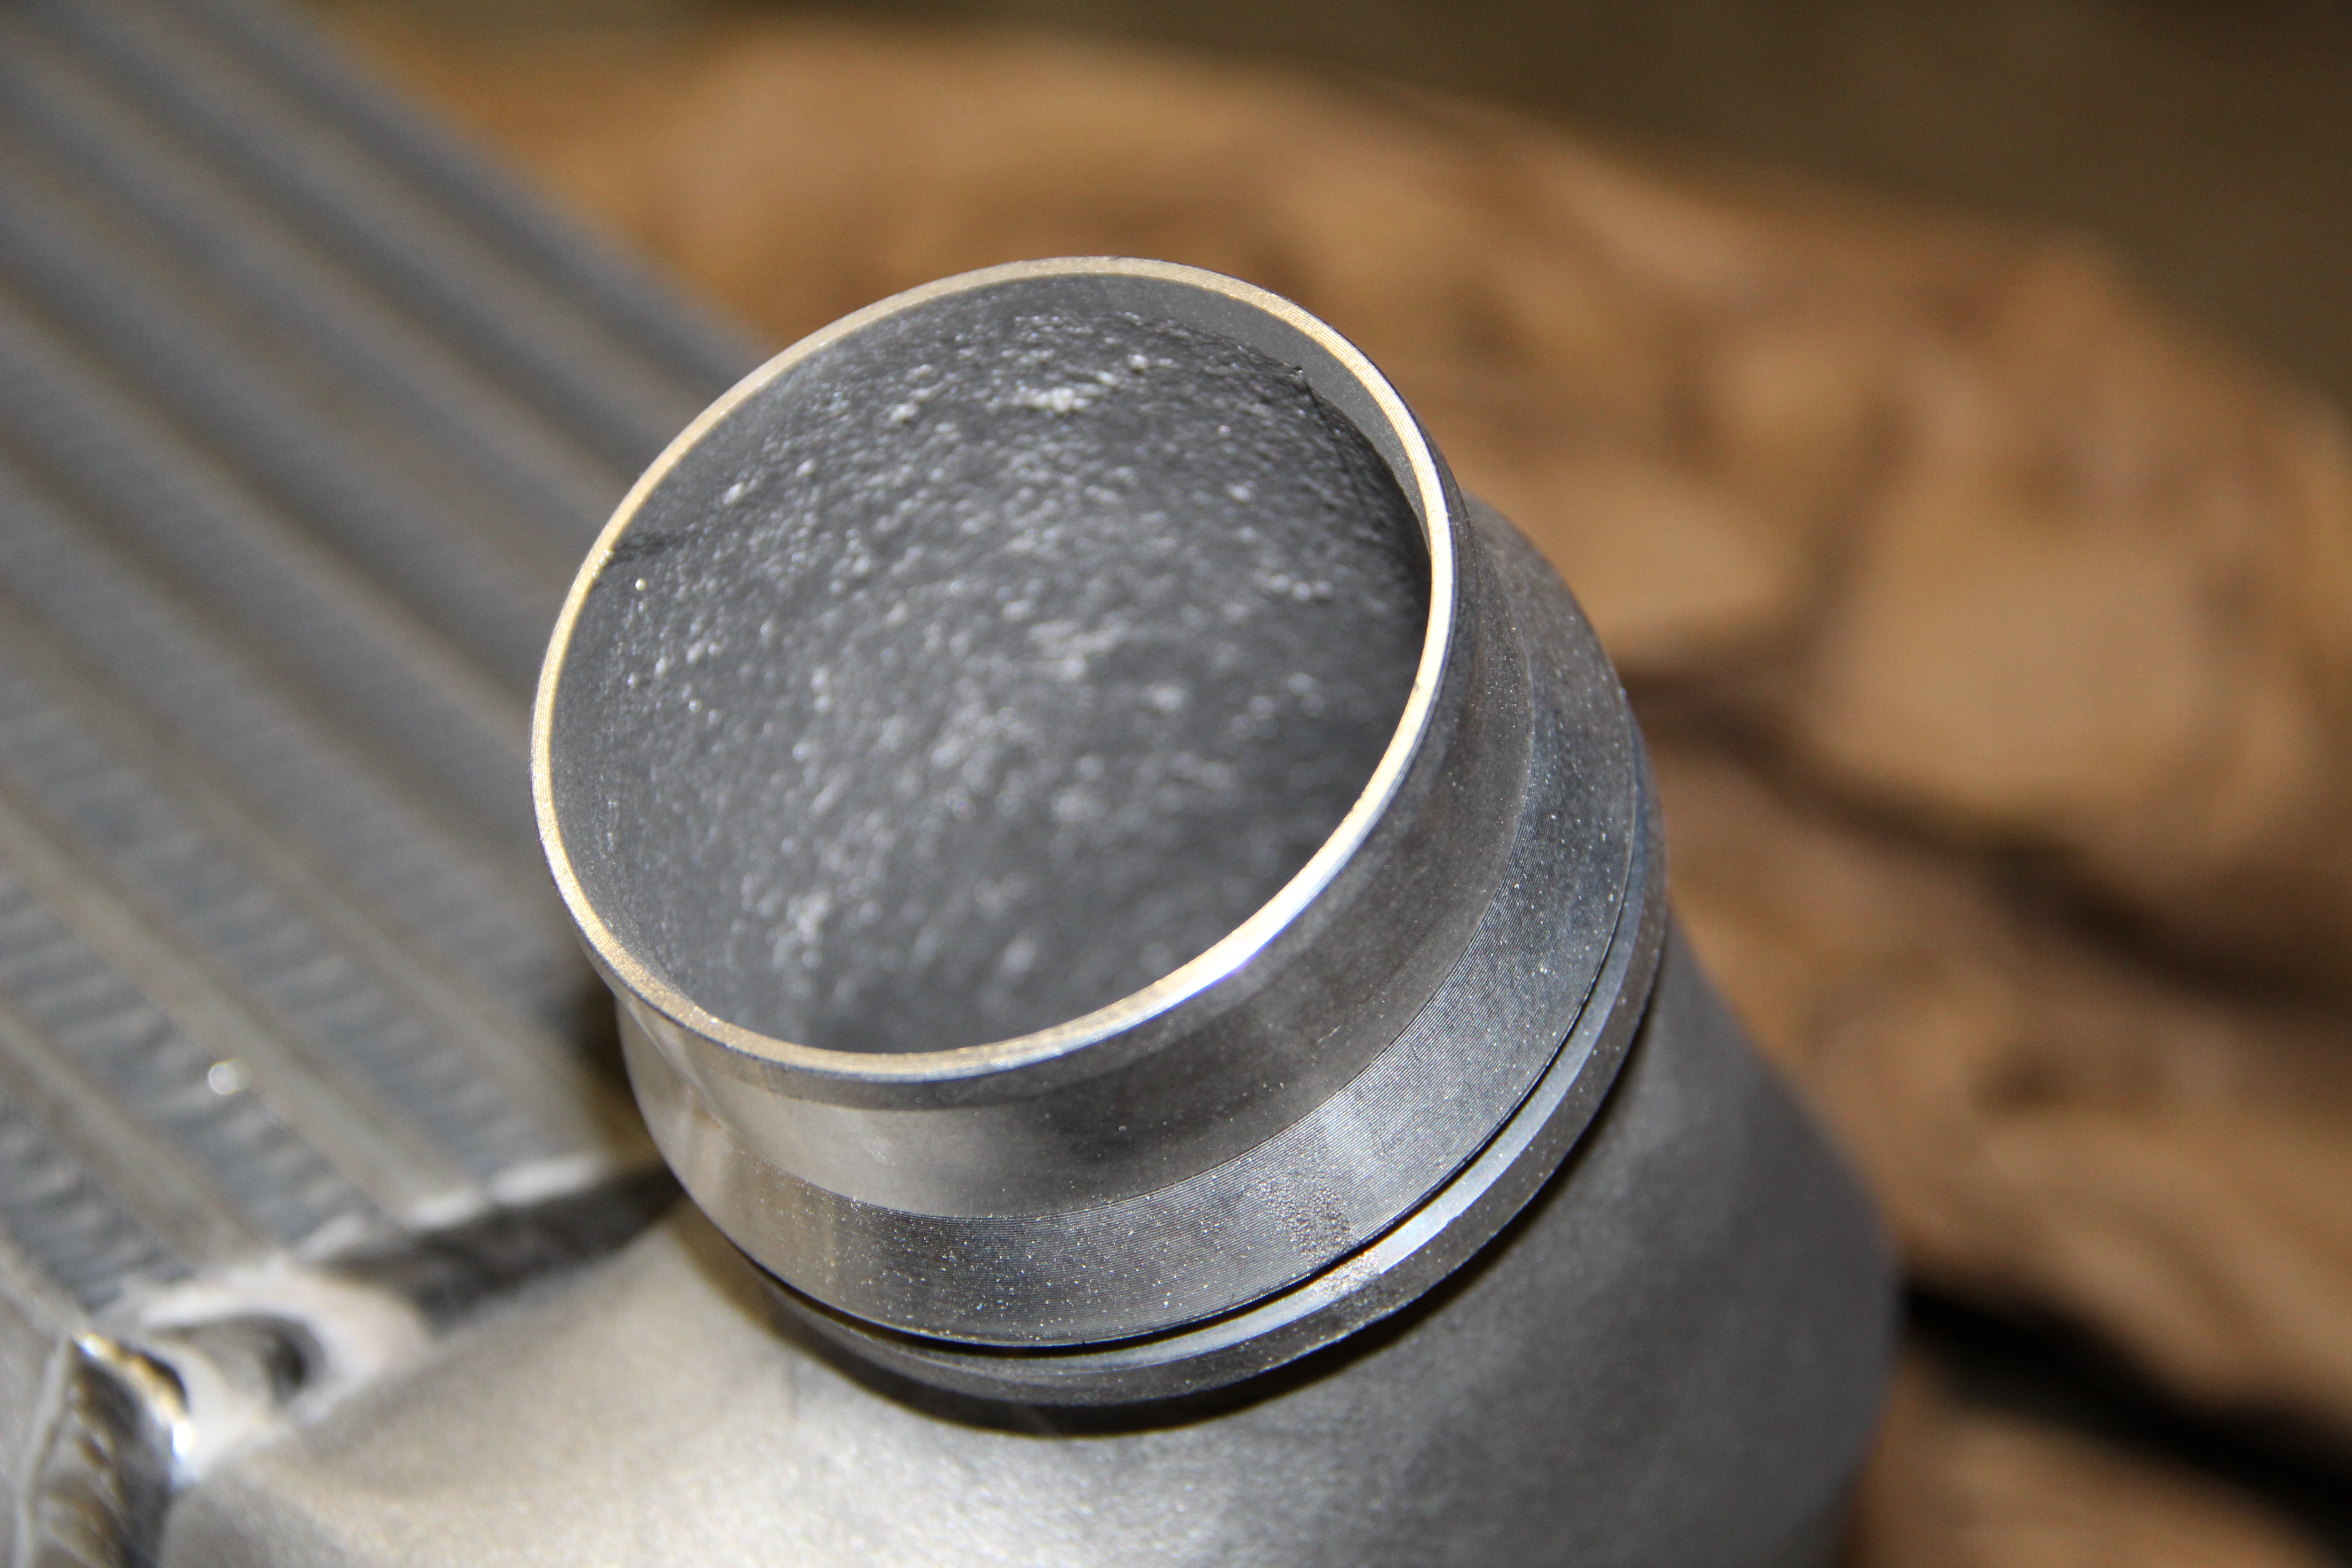
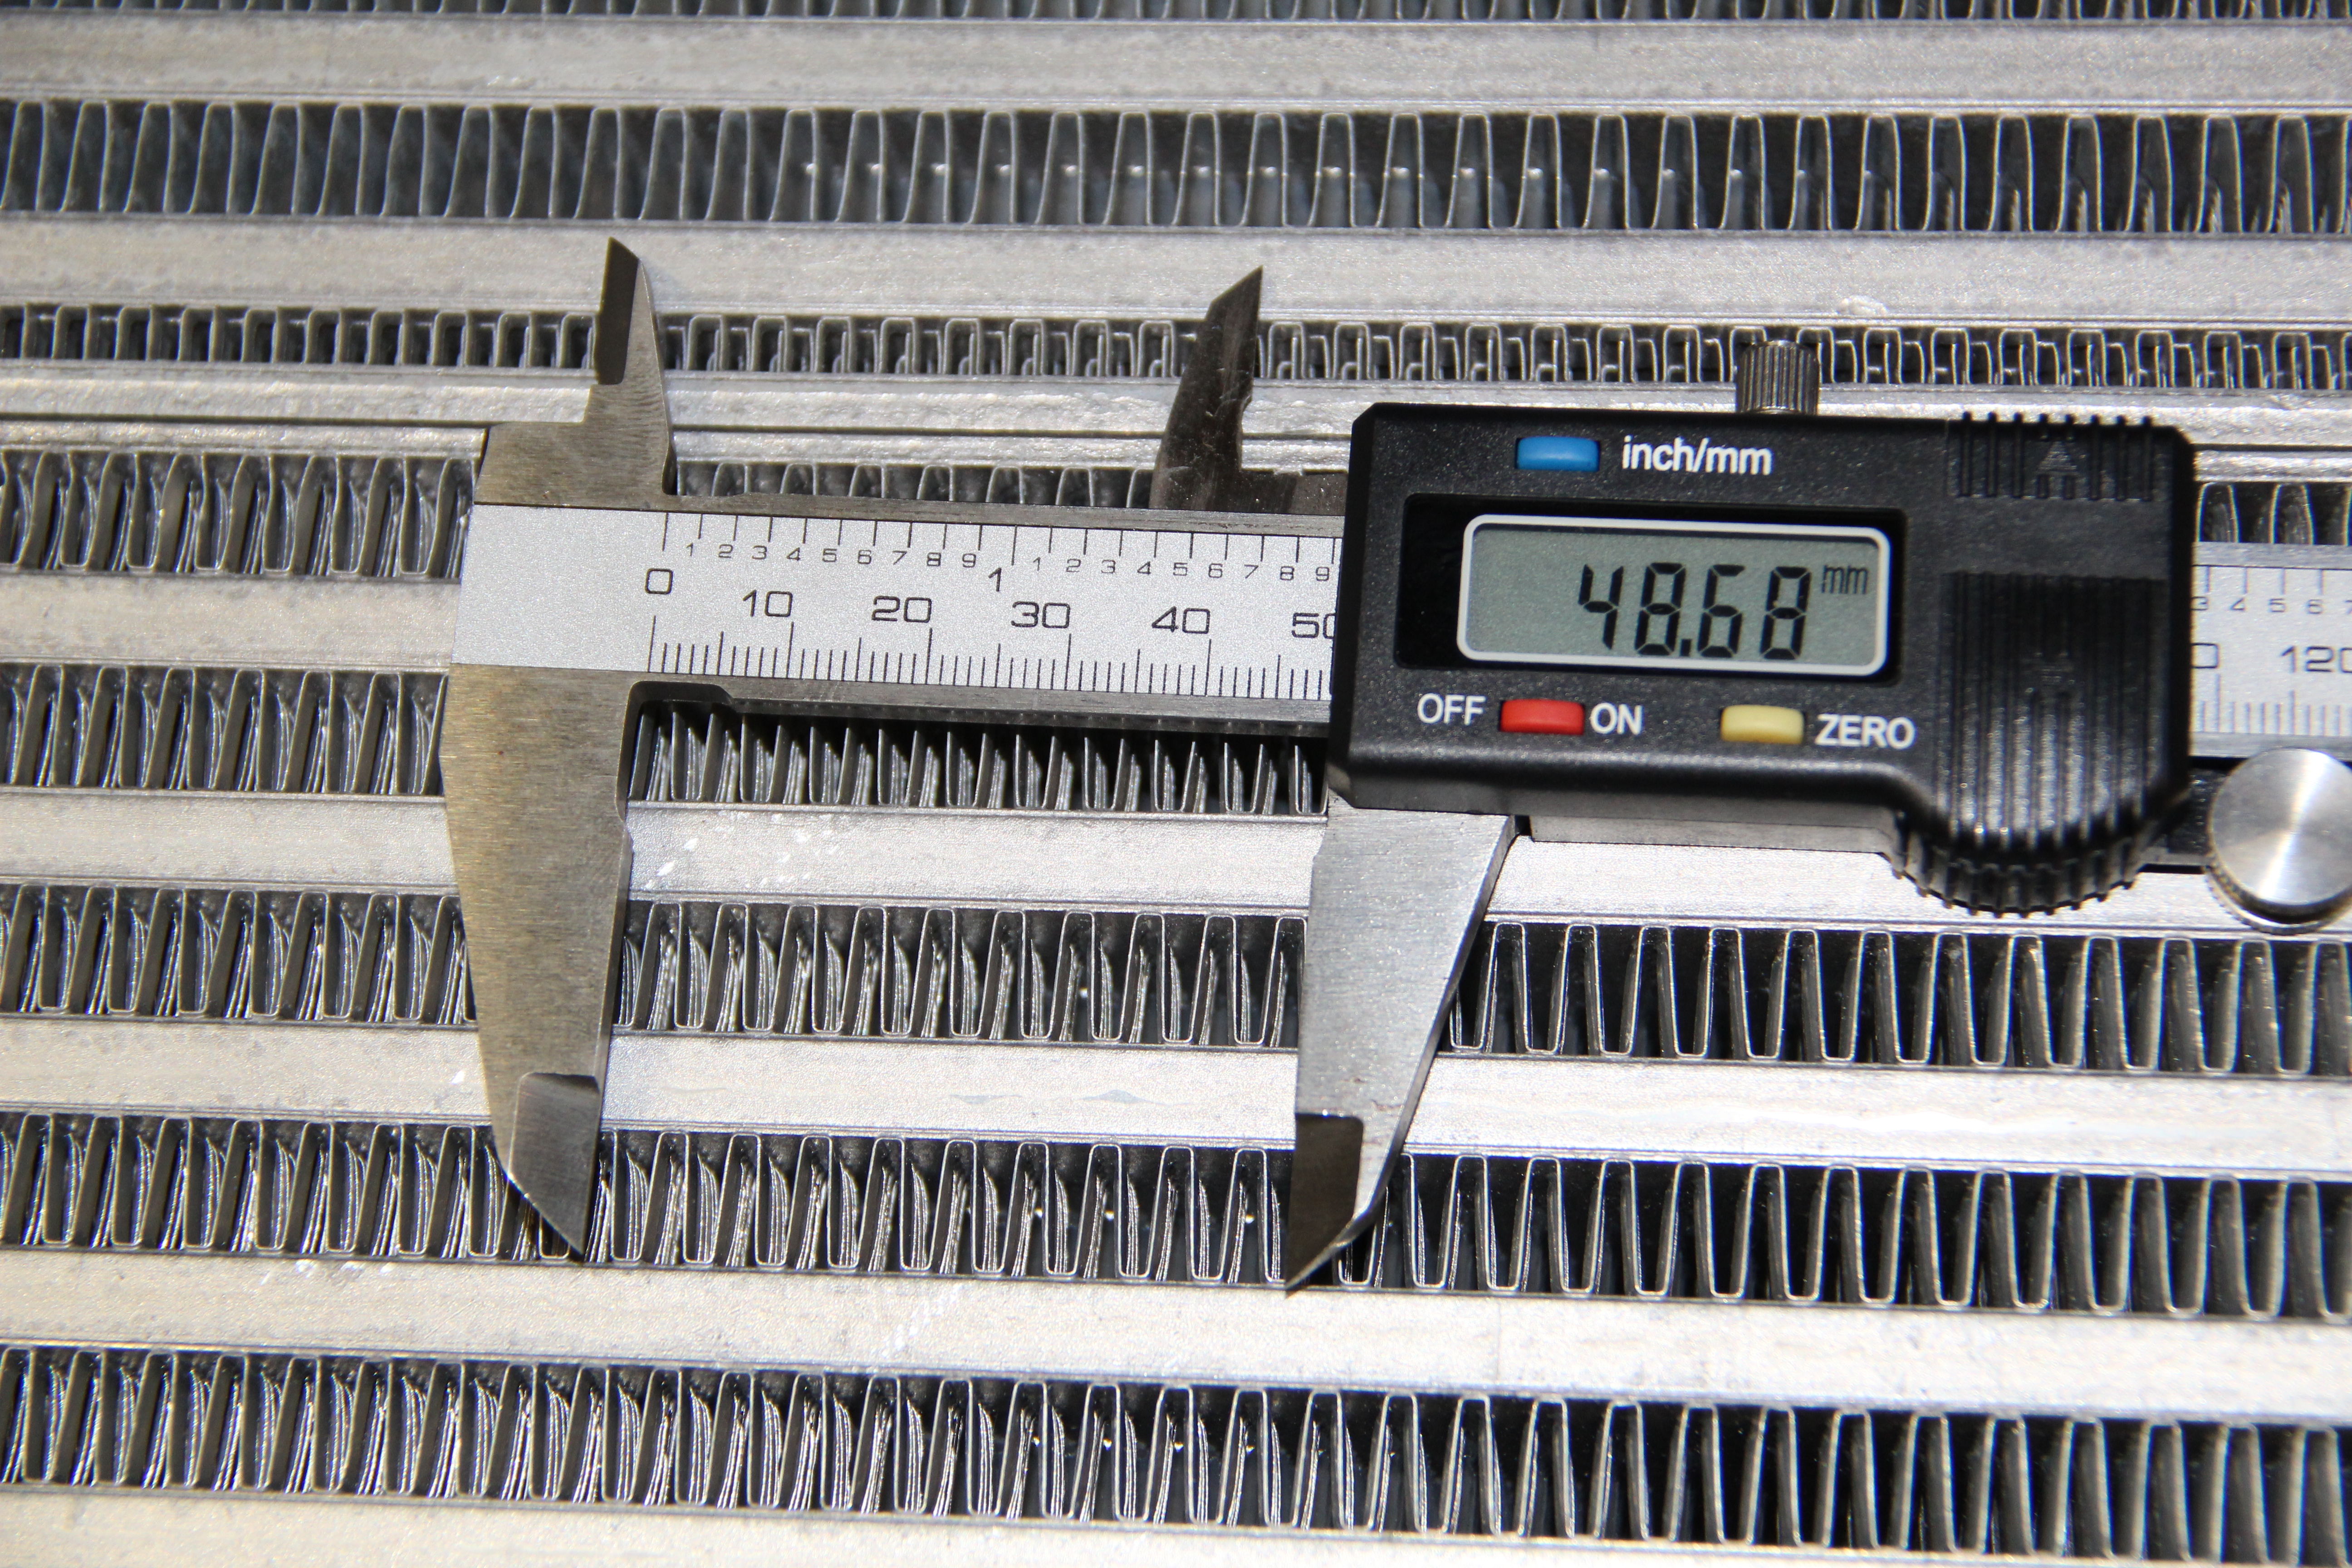
The Intercooler


Installation
Tools used:
2 “Fat bladed” regular screw drivers- 6mm nut driver (to remove belly-pan screws)
- I really like these German Wera nutdrivers and screwdrivers, they are super easy to handle
- T25 Torx (to remove 2 torx screws holding the intercooler on)
- Do yourself a favor and get a nice set of T-handle Torx drivers, this Bondhus set is a must have for the BMW. Inexpensive, strong, and a lifetime guarantee
- PATIENCE, the infamous charge pipe intercooler clamp/clips are really a PITA
- Zip ties!
- The paper the IC ships with to create a shim (explained below)
- Optional: Eye protection (lots of grit and leaves fall out of the old intercooler)

- Get your 335 up in the air however you choose. If you have a proper lift I envy you, this would be SOO much easier on a lift.
- I picked up a nice set of Race Ramps for my oil changing/intercooler swapping/possibly charge pipe in the future work. I chose this set as it was the least expensive, low profile set that would fit my car. A stock M-Sport 335 gets up on these things with a decent amount of clearance. Not sure if they will work if you have a front splitter.
- With your 6mm nut driver, remove the belly-pan, there are a TON of screws, get comfortable sliding around on your garage floor.
- Once the belly pan is removed it’s time to tackle the infamous intercooler clip/clamps/sons a bitches
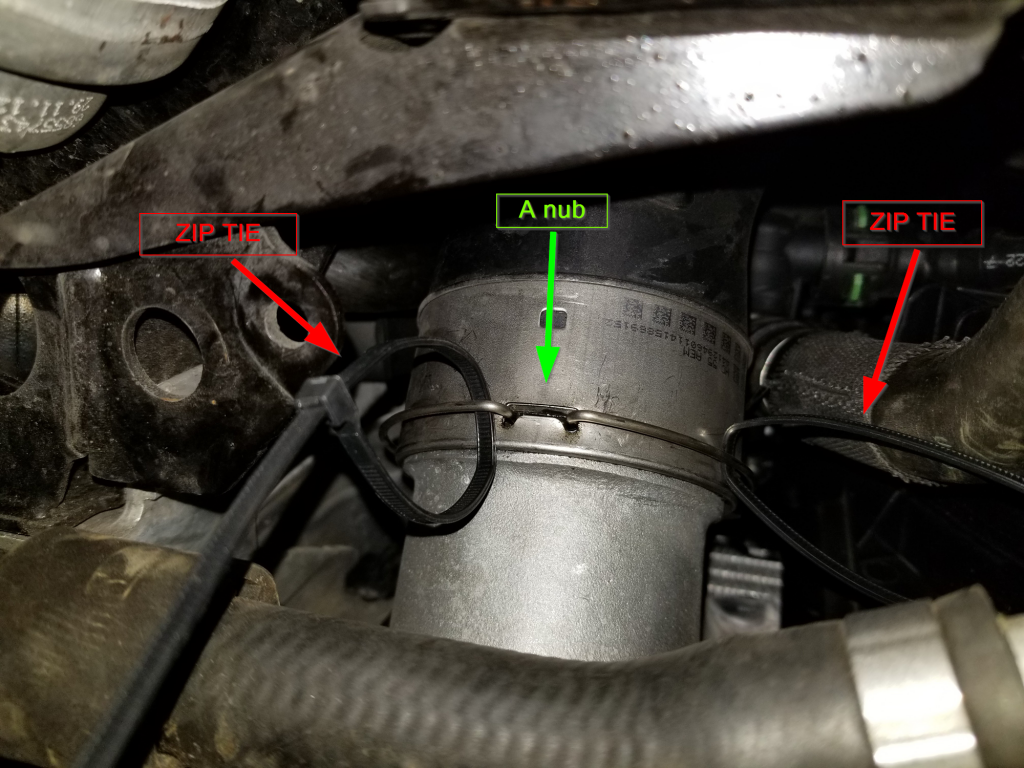
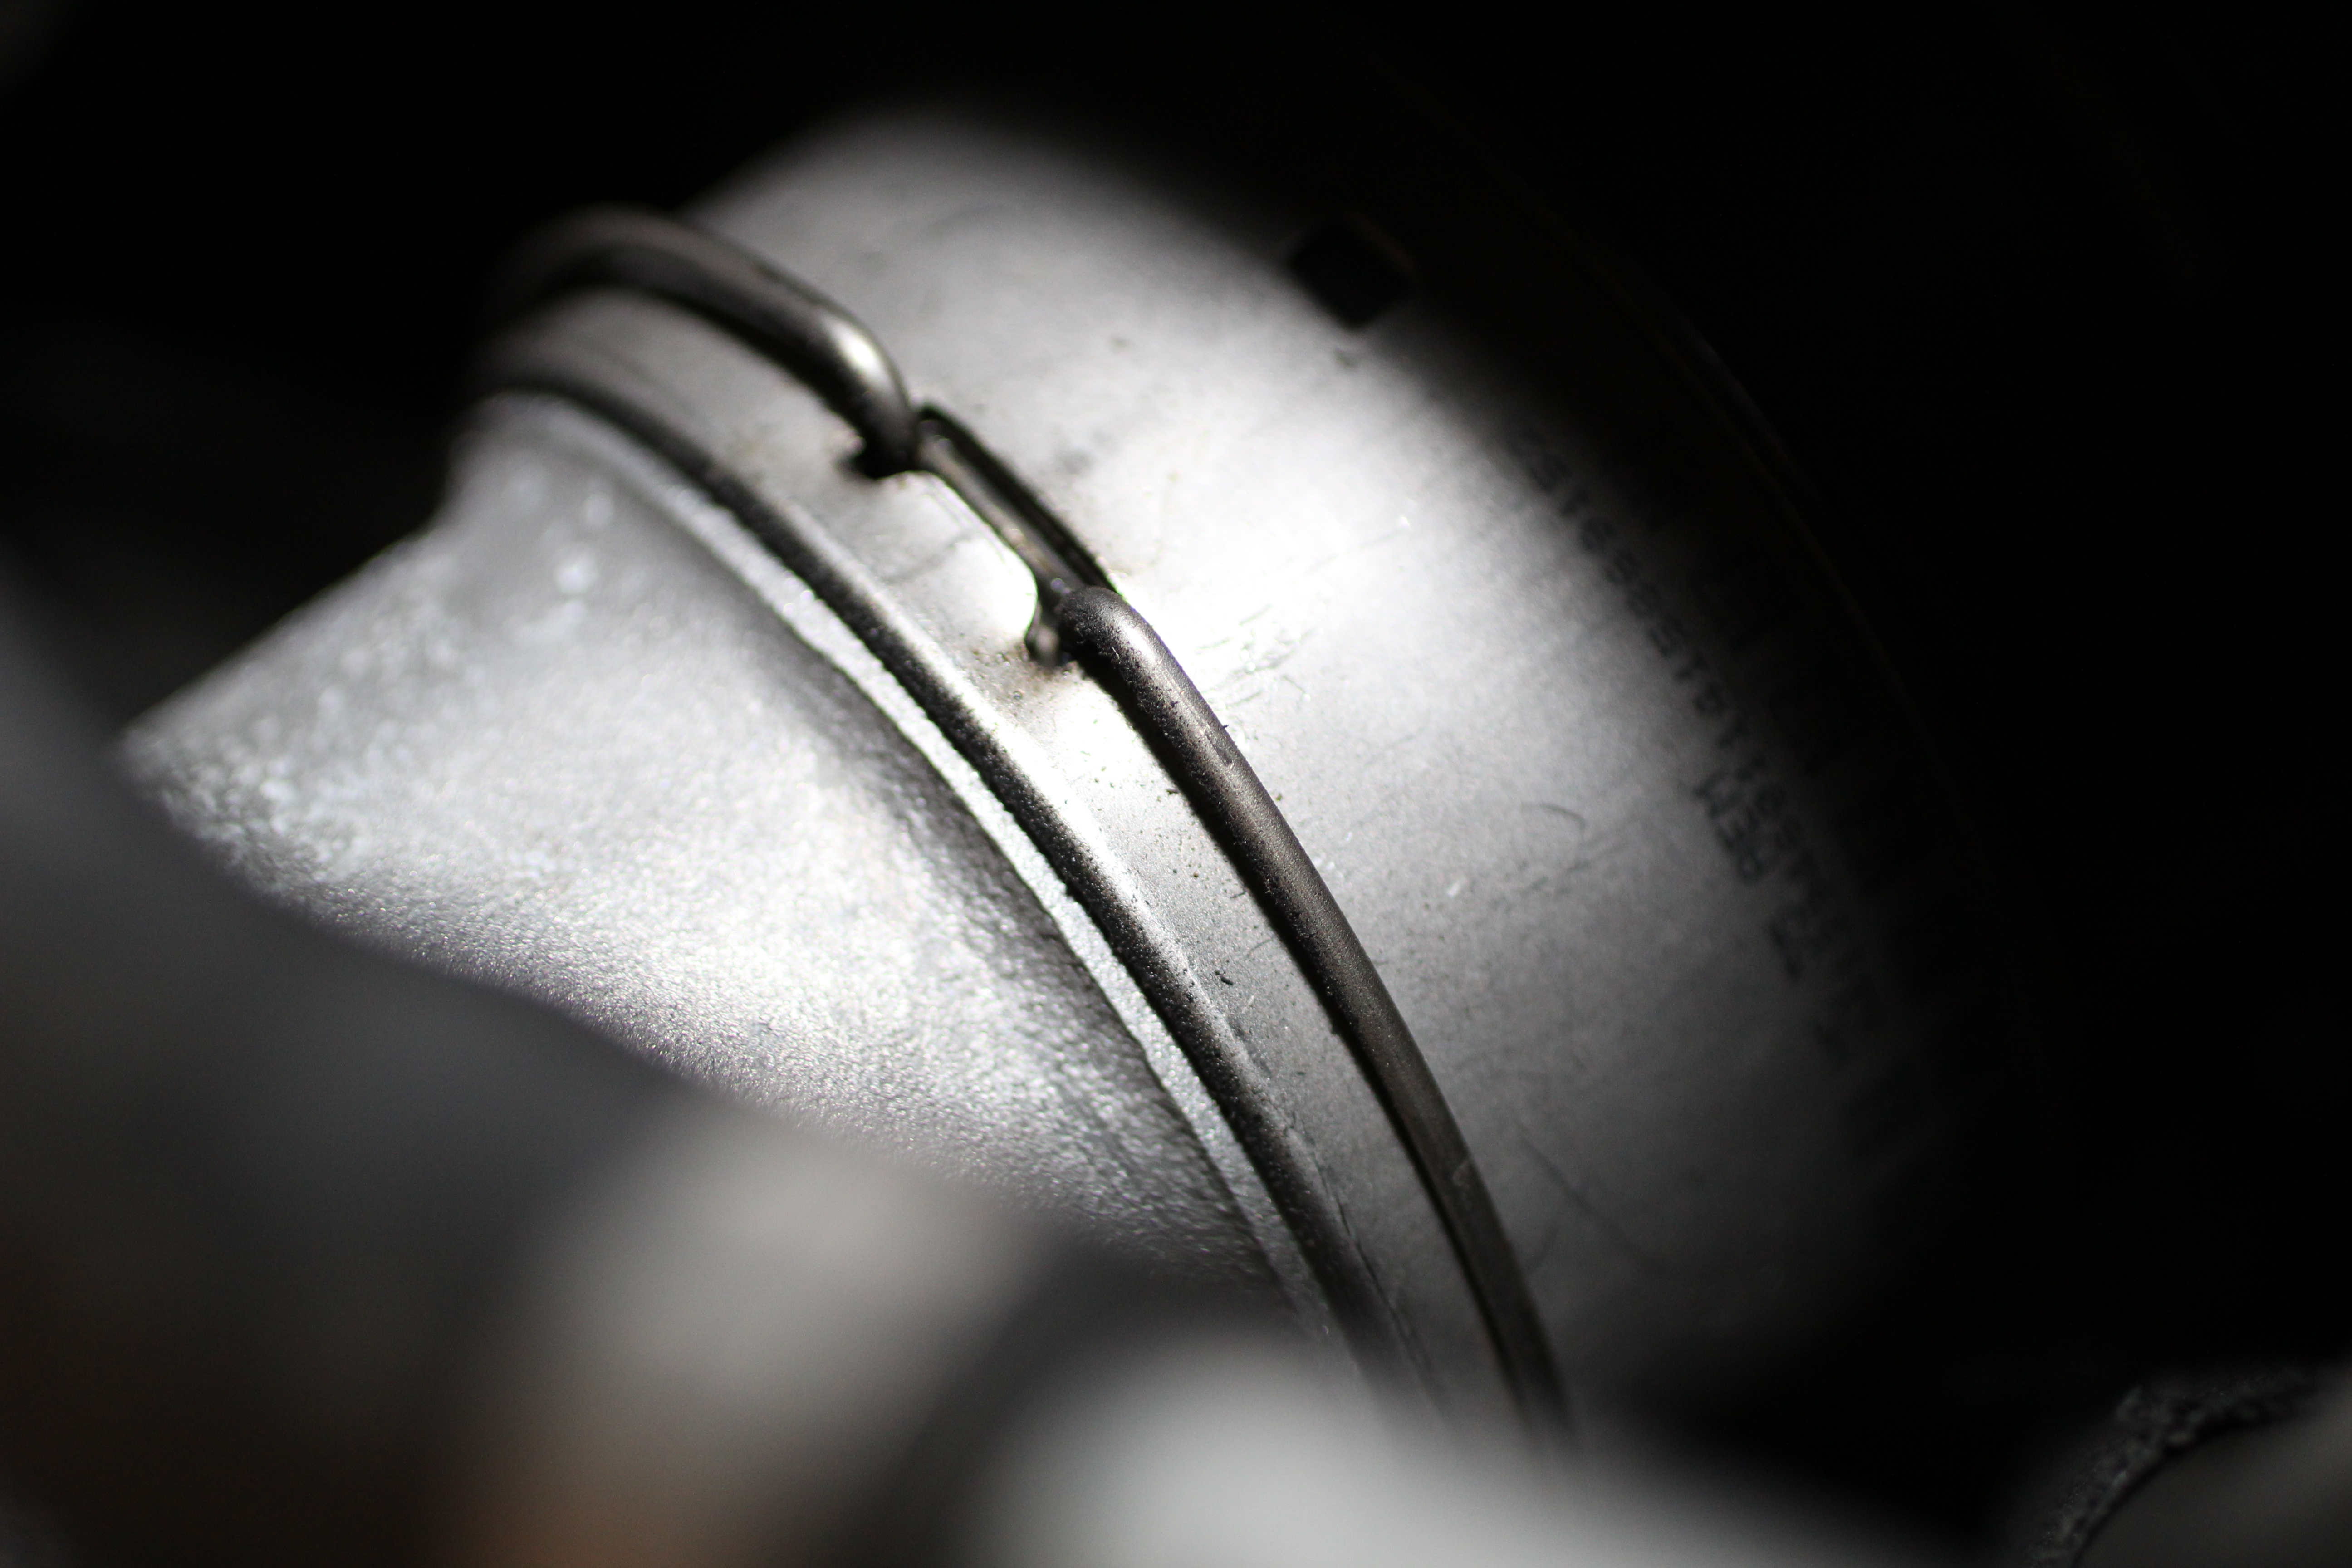
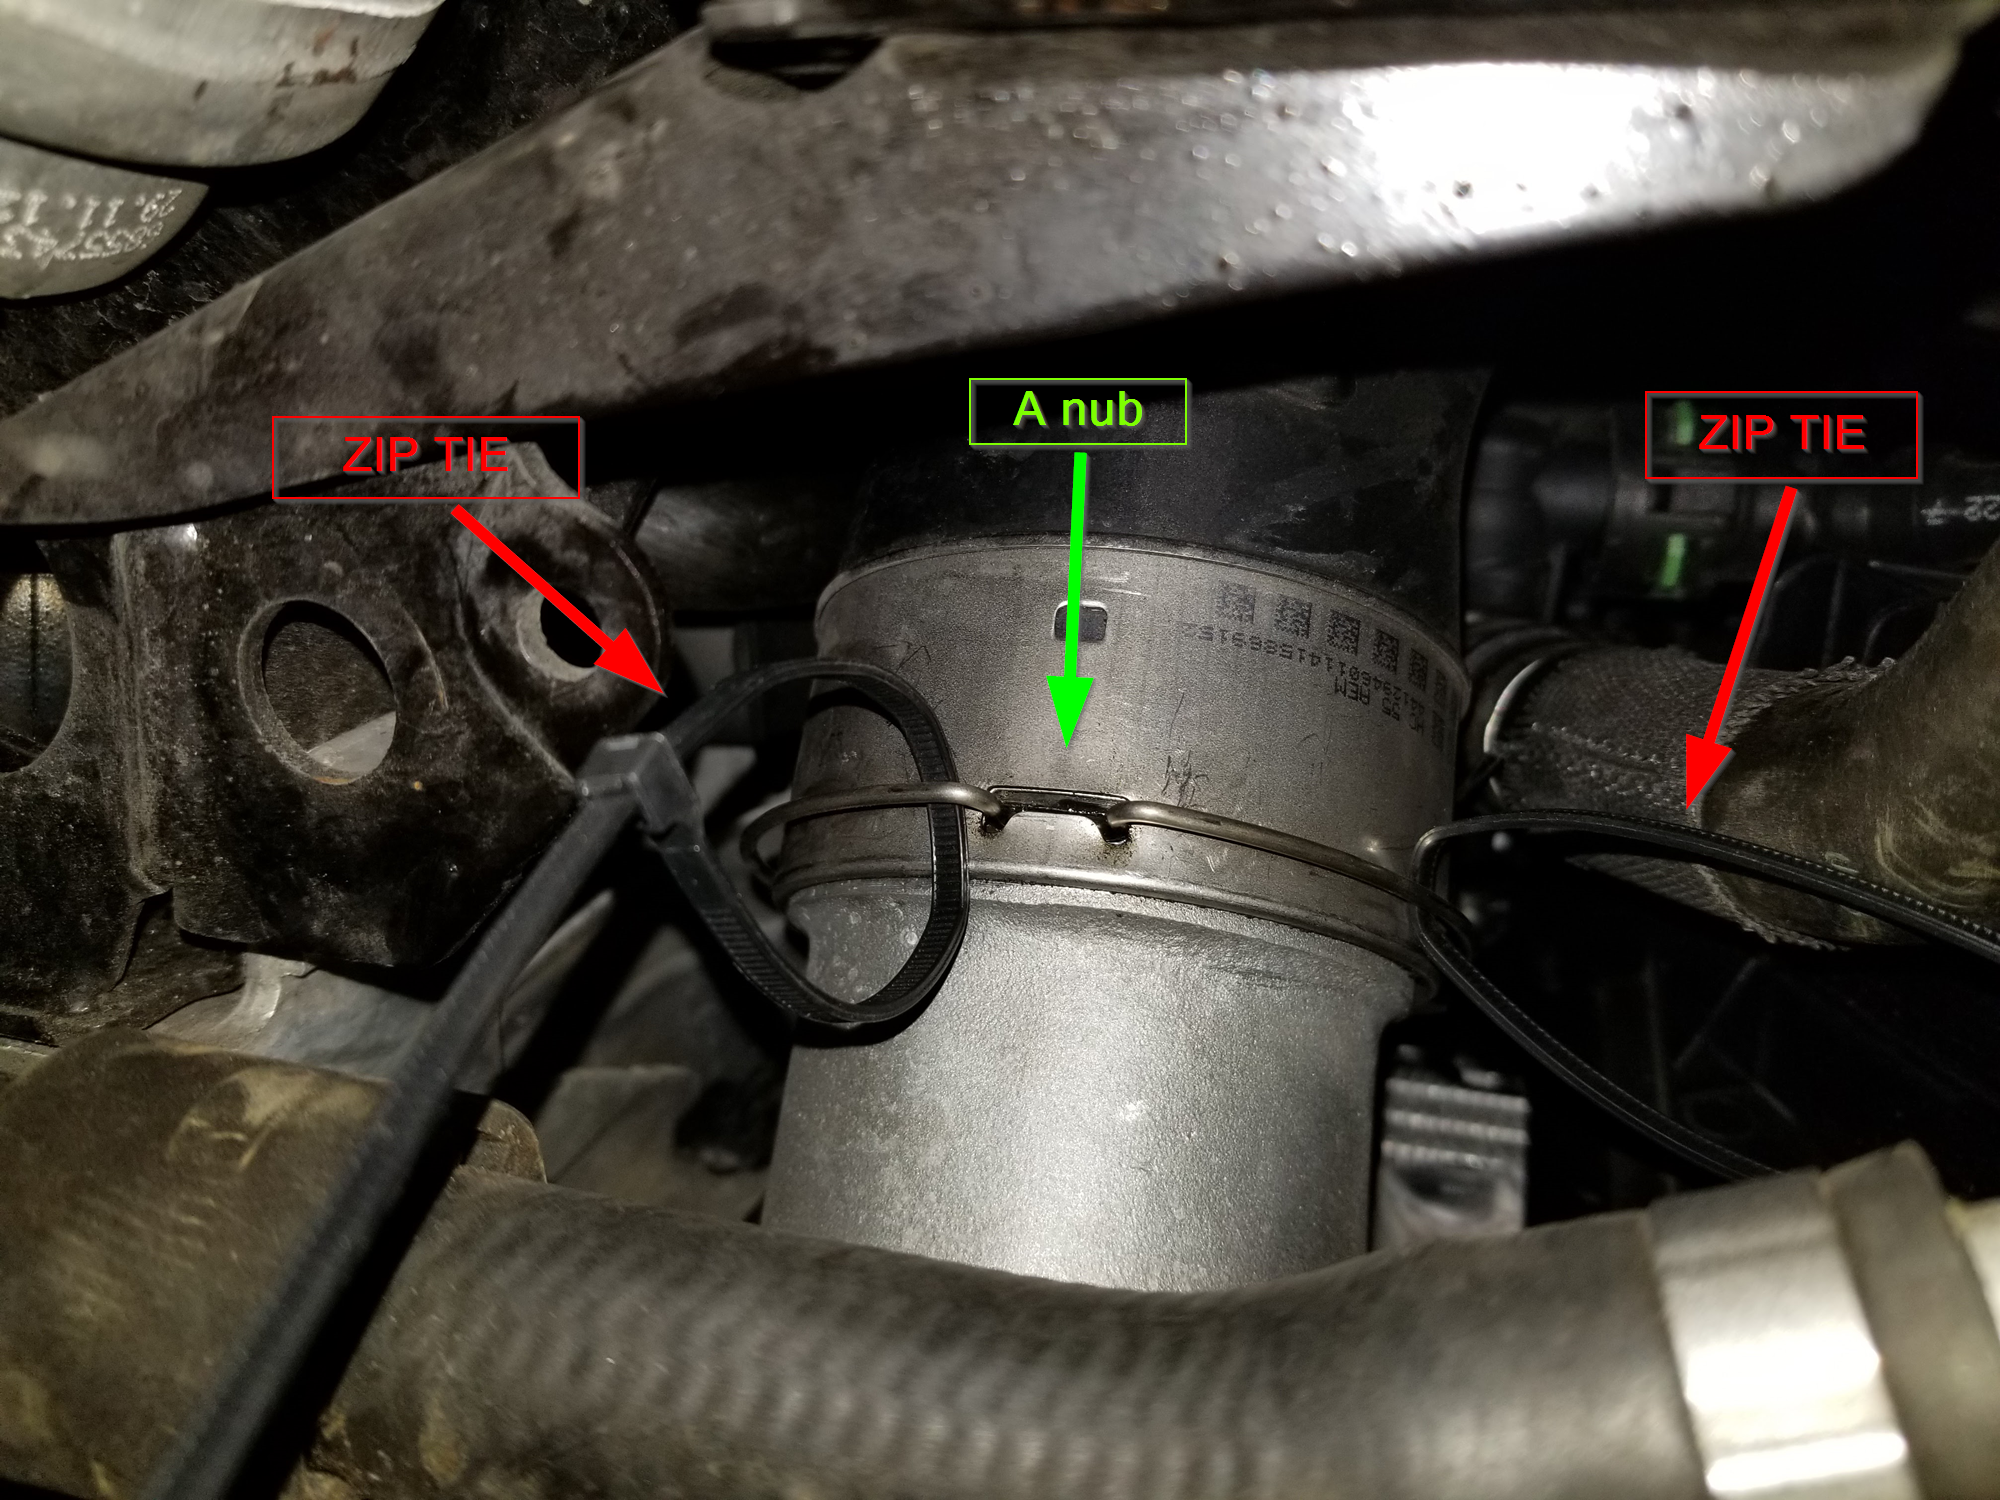
- The almighty charge clip, intercooler clip, charge clamp, intercooler clamp seen below. The below picture is to hopefully clarify WTF I’m talking about below.

- The end goal of all this is to remove the labeled A nub on the charge clip out of its channel
-

You will hate this clip, I guarantee it, that’s the A NUB pictured
- To do this you first need to relieve the tension on the 2 bars.
- Insert
your Flathead screwdrivertwo zip ties just above the little indent provided by the section labeled B below and slide them up and away towards the top of the engine away from the A nub - This shouldn’t be hard to do, it takes very little force to do so. If you’re using lots of muscle, you’re doing it wrong.
- Insert
-
- Once you approach the top near the C nub gently pull outwards on each side and you should feel the clip get stuck in a slightly open position on each side.
- Create two folded shims out of the paper the IC shipped with to hold the clip in that channel, this will save you a LOT of frustration
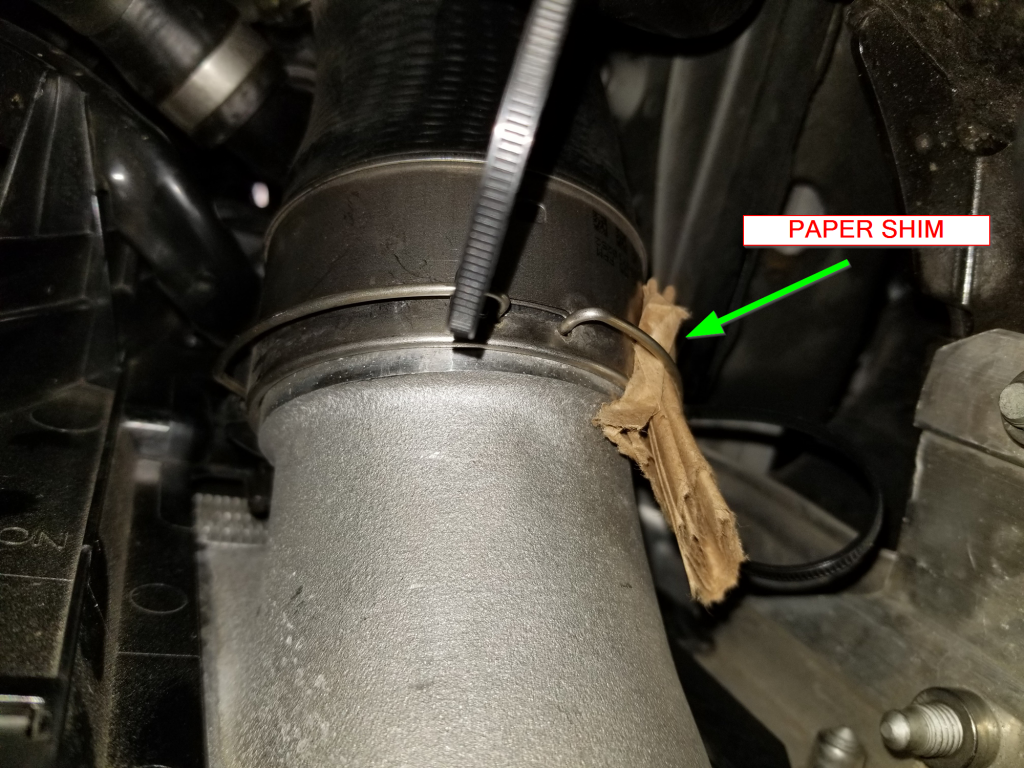
- Create two folded shims out of the paper the IC shipped with to hold the clip in that channel, this will save you a LOT of frustration
- Ensure the C nubs are in their channel and grasp the charge air duct/hose and strongly pull it towards the intercooler. It will take a fair amount of force and you will find getting a good grip on it is a major PITA, especially on the drivers side. While you are doing this you need to make sure the C nubs stay in their channel and do not snap back closed.
- The goal here is to pull the charge air ducts towards the intercooler so that A Nub can be pried out of it’s retaining channel.
- It’s hard to tell if you pulled hard enough but if you did it right and pulled it down you should see that the very top of the A Nub is now able to be pried out of its channel and moved up and out of the way.
- Pry the A nub out of its channel and move it upwards out of the way of the ducting and intercooler.
- Now that the clip is released you can struggle to remove the charge air ducts from the stock intercooler, twist, pull, be careful and they will wiggle out.
- On the drivers side I actually unbolted the intercooler first, removed the passenger side charge air duct from the intercooler, and pulled the intercooler down and out
- Remove the 2 torx screws holding the intercooler in
- Wiggle, pull, slide, do whatever you need to do to get the intercooler out. Make sure you are pulling on the intercooler and not the radiator shroud, they blend in together quite well.
- Take a few minutes to knock out all the sand, grit, leaves, dust that are trapped up in the now empty intercooler area and vacuum them out. (Watch your eye-holes)
- Install the new intercooler starting with the drivers side first. This part was another PITA, not as bad as the clips but this requires lots of bending, twisting and manipulating.
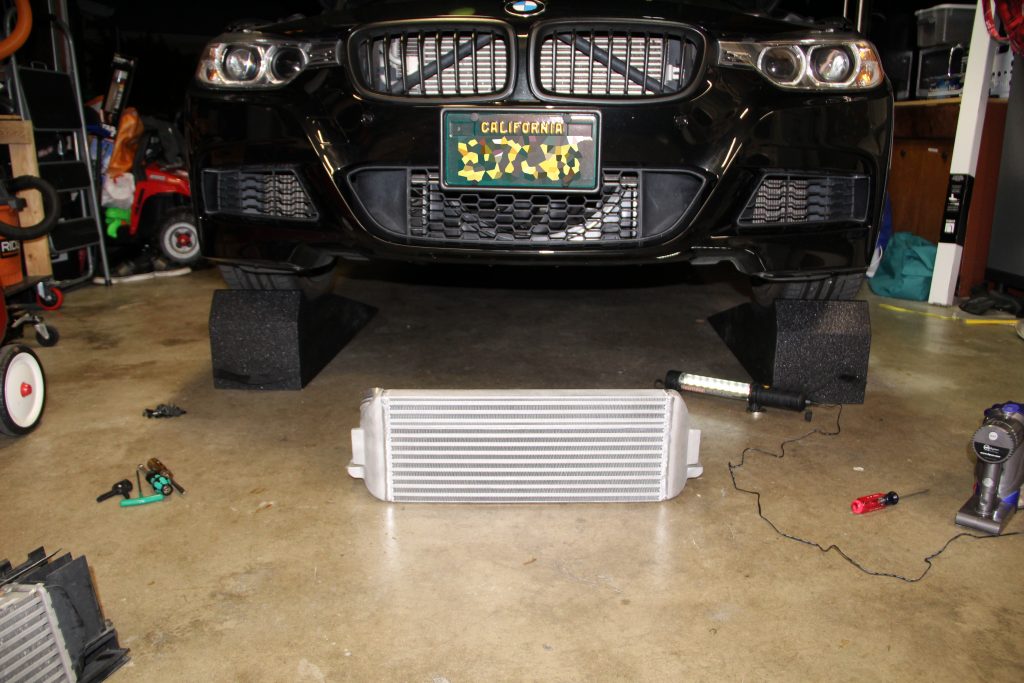
New intercooler ready to go in - There were a few issues I ran into here, the drivers side is super tight, there is a coolant hose in the way (it’s somewhat flexible but still in the way) and the plastic shroud inside the bumper is all sorts of in the way.
- In the end I wiggled and forced the drivers side charge air duct in first as the radiator line is really in the way.
- You will need to bend the crap out of the plastic shroud in the front bumper cavity to get the intercooler in, use lots of power, it isn’t easy. The intercooler weighs around 30 pounds or so, I positioned it above my shoulder and used a “shot-put” like motion to push it up. You will need to bend the bumper shroud a lot to get it in.
- Another thing to look out for is the 2 slots on either side of the bumper area where the intercooler slides in, make sure it’s in the correct slot or the mounting Torx screws will not line up
- The end goal of all this is to remove the labeled A nub on the charge clip out of its channel
- After you push the intercooler up and in, hopefully the charge air ducts are lined up with the intercoolers inlet/outlet. If so, you can use the rubber edged bumper shroud to hold the intercooler in place while you replace the 2 Torx screws.
- Pull the charge air ducts over the intercoolers inlet/outlet and pull HARD towards the intercooler. Use a screwdriver to get Nub A back in the channel and lock the charge air ducts back into place. Everything should snap in tight, including the bars, when they look like they did when you started, you are done.

Testing
I finally got a JB4 so I was able to do some serious testing with data that is much more complete.
Here is the first test using 3.7 gallons of e85.
And the full link to the data here

Here is the 2nd run, same night but a better pull. On that first pull I got some serious wheel spin starting off in 3rd in a straight line getting on the freeway.
And the link to the full 2nd run here

After installing a warmed the car up to operating temps (230-250 on the gauge) parked, got some food, drove a bit, idled the car while I ate, and then hit the freeway. I wanted to make sure the intercooler had plenty of time to warm up and give as accurate of a result as possible.
I don’t think the data I logged is very good. I unfortunately don’t have a JB4 yet and was using the Torque app on my Android phone. It does not appear to be updating the logs nearly as fast as needed to get accurate results. I’m posting this all up on the forums, I’ll let someone who knows what they are doing analyze and give me their thoughts. (To be continued…)
If anyone reading has any thoughts please comment below (you don’t need to be registered) I appreciate any and all feedback.


Way to complicated to use a screwdriver to remove the C-clip + you risk damaging something. You just feed a cable tie through the eye and pull.
Thanks, that’s a great tip and it sounds like a much safer approach. I’m definitely going to try that out. I tried to stress how important it is to be delicate with the clip in the article.
when you say “eye” do you mean the “A Nub”?
You would start up at the “A nub” and pull the cable tie(s) down towards the “C nub” to pull the “C nubs” apart (I think, haven’t tried it)
AH!! Cool…thanks and great write up!!
I recently had to remove the intercooler and tried the zip tie trick and it was ABSOLUTELY 1000x easier than using screwdrivers, thanks for the tip! Updated blog post coming soon!